Key Takeaways:
- Brake inspections involve checking the brake pads, rotors, brake fluid, and other key components for wear and damage.
- Signs that you need a brake inspection include unusual noises, vibrations, soft pedals, or increased stopping distance.
- Inspecting brake pads can be done visually through the wheel or by removing the tire for a closer look.
- Many service providers, including major chains like Midas and Pep Boys, offer free brake inspections to ensure your system is functioning properly.
What Is A Brake Inspection?
A brake inspection is a thorough check of your vehicle’s braking system to ensure everything is working properly. This includes examining the brake pads, rotors, brake fluid, and other critical components for any signs of wear or damage.
During the inspection, a mechanic looks for anything that could compromise the effectiveness of your brakes. This can involve checking the thickness of the brake pads, ensuring the rotors are smooth, and making sure there’s no fluid leakage that could lead to braking issues.
Getting your brakes inspected regularly helps keep your vehicle in safe working condition. If there’s any problem detected, it can be fixed early, preventing bigger issues down the road.
5 Signs You Should Get a Brake Inspection
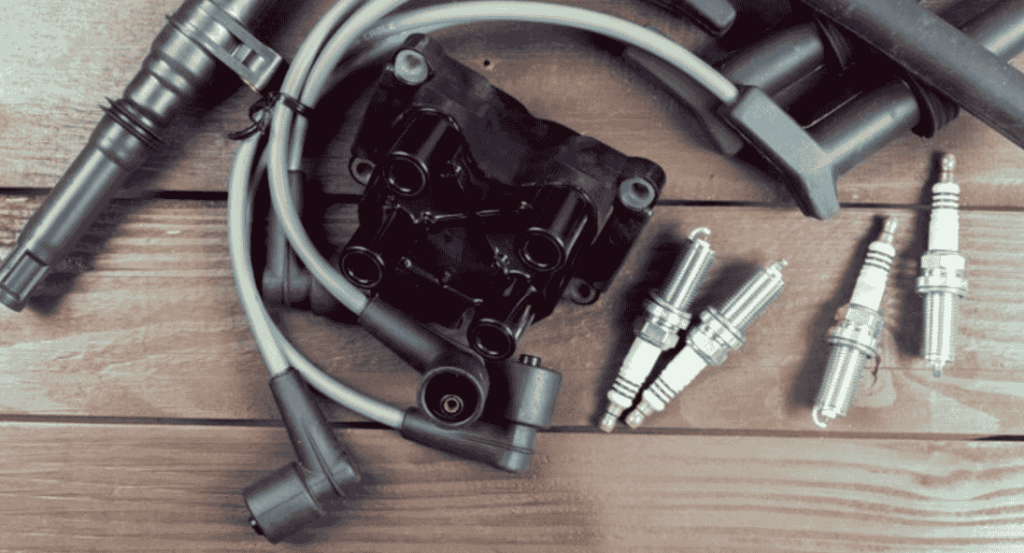
1. Unusual Noises When Braking
If you hear squealing, grinding, or squeaking noises when applying the brakes, it’s a clear indication that your brake pads might be worn down. These sounds are caused by metal-on-metal contact, which could damage other components if left unaddressed.
2. Vibrations in the Brake Pedal or Steering Wheel
Feeling vibrations when you press the brake pedal or notice it in the steering wheel could mean your brake rotors are warped. This issue can lead to uneven braking and should be checked promptly to prevent further damage.
3. Soft or Spongy Brake Pedal
A brake pedal that feels soft, spongy, or goes all the way to the floor can signal a problem with the brake fluid or air in the brake lines. This reduces the braking power and must be inspected as it affects overall vehicle safety.
4. Pulling to One Side When Braking
If your vehicle pulls to one side when you apply the brakes, it could mean uneven brake pad wear or a brake caliper issue. This issue should be examined to ensure that braking is balanced and effective on all wheels.
5. Increased Stopping Distance
If your vehicle takes longer than usual to come to a complete stop, it’s a sign that your braking system isn’t functioning at full capacity. Whether it’s worn brake pads or low brake fluid, this issue should be addressed immediately to restore optimal braking performance.
How To Inspect Your Brakes?
Inspecting your brakes regularly is essential to maintaining your vehicle’s safety and performance.
While professional mechanics should perform full brake inspections, you can do some basic checks yourself to catch potential problems early. Here’s a step-by-step guide on how to inspect your brake system.
1. How To Inspect Brake Pads?
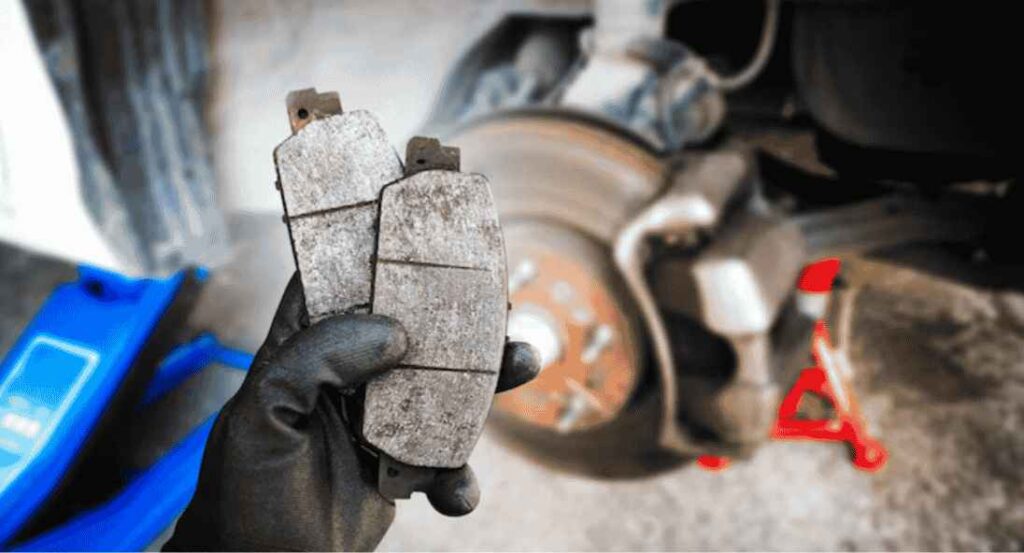
Brake pads are integral to your vehicle’s braking system, and inspecting them regularly ensures you maintain optimal safety and performance.
Over time, brake pads naturally wear down, which can affect your stopping power. Here’s how to inspect your brake pads to catch any issues early, before they become a bigger problem.
Step 1: Allow Brakes to Cool Down
Before starting, make sure your brakes are cool to the touch. Brakes can get extremely hot after even a short drive, and handling them too soon can lead to burns or inaccurate results. Let your vehicle sit for at least 30 minutes to an hour to cool down, ensuring a safe inspection.
Step 2: Inspect Brake Pads Through the Wheel
In most cars, you can easily inspect your brake pads through the gaps in the wheel. Use a flashlight to get a clear view of the pads. If they appear thinner than ¼ inch, they are close to being worn out and need replacing. You should also check for the wear indicator slot, typically found in the center of the brake pad. If the slot is barely visible or completely worn down, it’s definitely time to replace the pads.
Step 3: Listen for Warning Noises
Your brakes will often give you audible warnings when something is wrong. A high-pitched squealing sound when you apply the brakes is a sign that the brake pads have worn down to the wear indicator. A more alarming grinding noise suggests the pads are so worn that metal is making contact with the rotor, which can cause damage to both the pads and the rotor. If you hear either of these sounds, it’s crucial to get your pads replaced immediately.
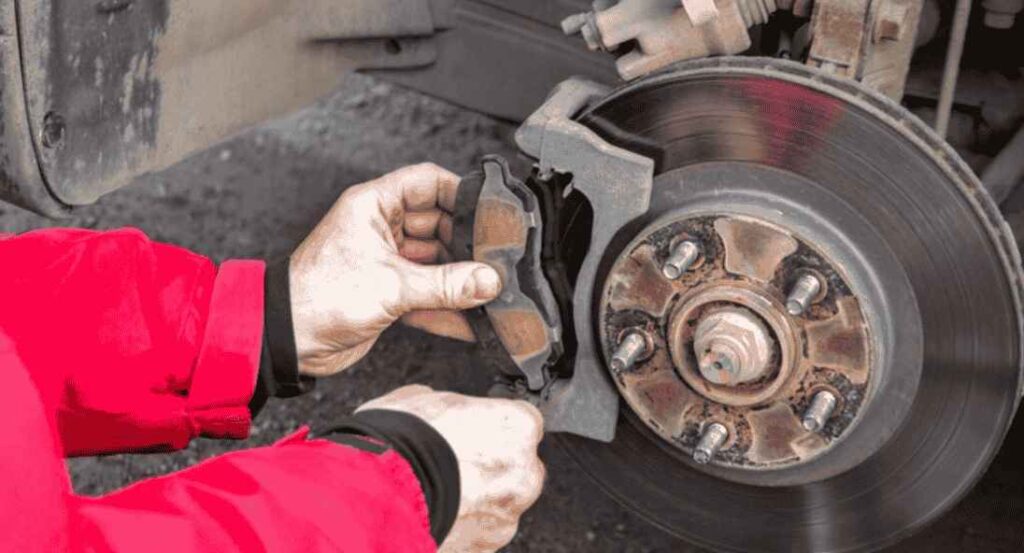
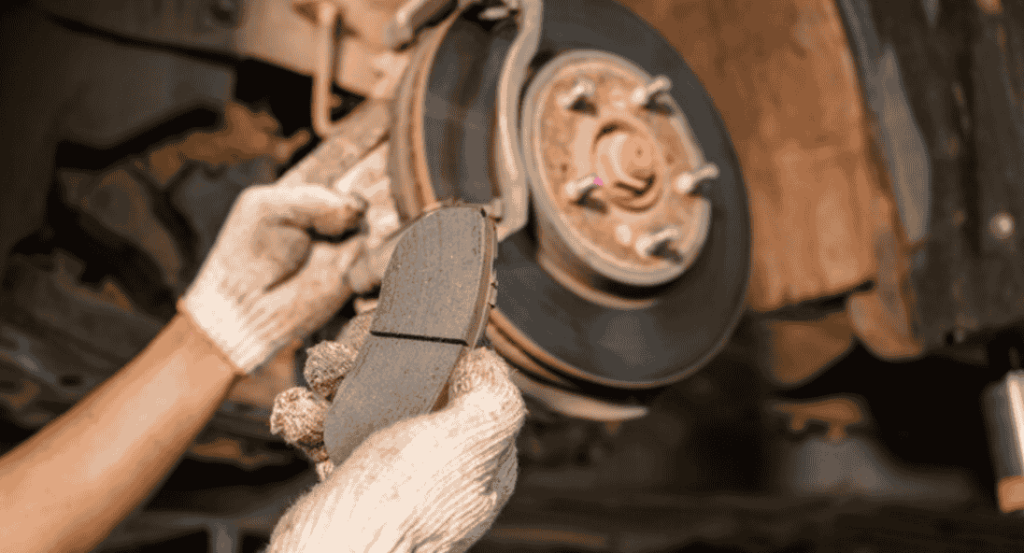
Step 4: Remove the Wheel for a Closer Look
If you can’t fully assess the pads through the wheel, you’ll need to remove the tire for a better view. Raise the vehicle using a jack, then remove the wheel. With the wheel off, you’ll have a clear view of the brake pads, calipers, and rotors. Look for any signs of wear, and check the thickness of the pads. Pads thinner than ¼ inch should be replaced, as they won’t be able to provide adequate stopping power.
Step 5: Check for Uneven Wear
While examining the pads, take note of whether both sides of the pads are wearing evenly. Uneven wear can indicate problems with the caliper, suspension, or alignment. If one side is more worn than the other, it could affect your vehicle’s braking efficiency, and you should have the system checked by a mechanic.
Step 6: Look for Cracks or Chips
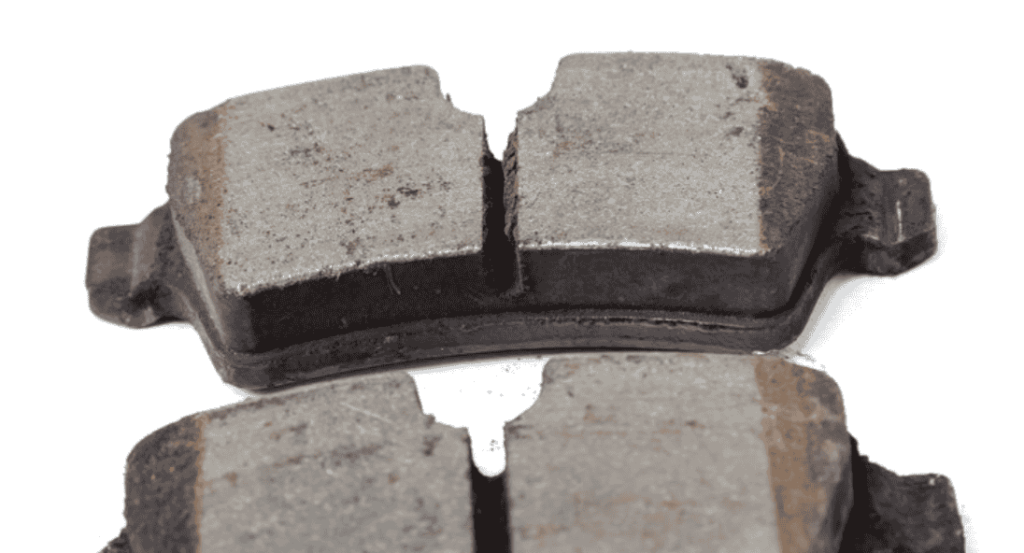
Brake pads can crack or chip over time, especially if they have been overheated. Inspect the surface of the pads for any cracks, chips, or unusual damage. Even small cracks could signal a problem and should be addressed promptly. If you notice any damage, replace the pads right away to avoid further issues.
Step 7: Examine Brake Dust Buildup
Brake dust is a natural byproduct of the friction created by brake pads and rotors. However, if you notice less brake dust on your wheels than usual, it could mean the pads are worn down. While a reduction in brake dust isn’t always a major issue, it can be a subtle sign that the pads are nearing the end of their life.
Step 8: Test the Braking Performance
Although not directly linked to the inspection, testing your vehicle’s braking performance is an easy way to spot potential issues with your pads. If your car feels like it’s taking longer to stop or if the brake pedal feels spongy or unresponsive, it could mean your brake pads are worn. If you experience this, it’s time for a professional inspection to assess the full braking system.
As you check your brake pads, it’s also important to assess the condition of other key components, like the brake rotors. The performance of your braking system is heavily influenced by the rotors, so ensuring they are in good condition is just as crucial.
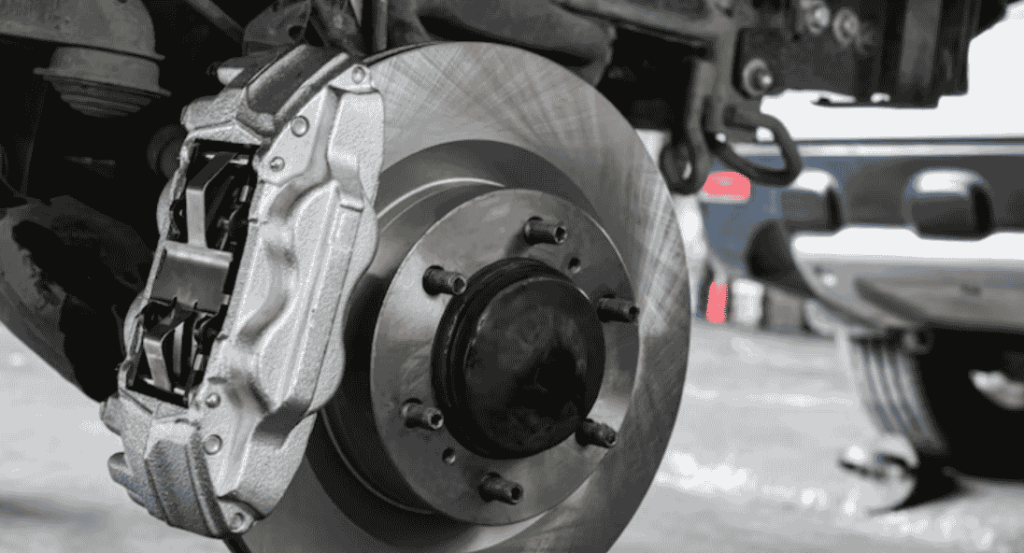
2. How To Inspect Brake Rotors?
Brake rotors are integral to the braking process, working alongside the brake pads to slow your vehicle down. Over time, they can become damaged or worn, affecting your braking efficiency.
Regularly inspecting your brake rotors can help you spot issues early and prevent more serious problems down the road. Here’s how to properly inspect your brake rotors to ensure your braking system stays in top condition.
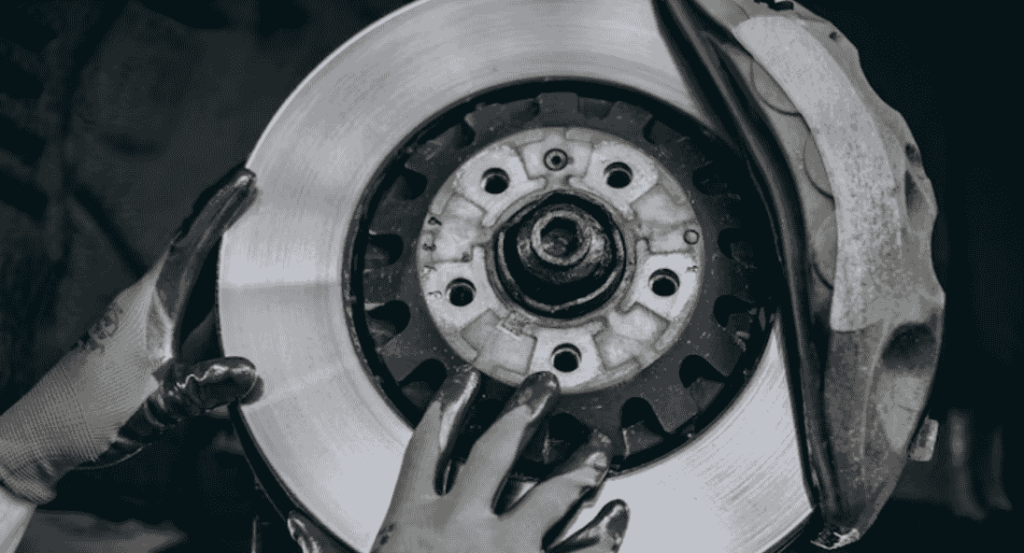
Step 1: Visual Inspection of Rotors
Start by visually inspecting the rotors for any obvious signs of damage, such as cracks, grooves, or discoloration.
A clean, smooth rotor surface is ideal, while grooves or scoring can indicate that the brake pads have worn unevenly or that debris has gotten trapped between the pad and rotor.If you notice any deep grooves, the rotor may need to be resurfaced or replaced.
Step 2: Check for Cracks or Warping
Cracks in the rotors are one of the most severe problems that can arise. They can develop due to excessive heat, overuse, or poor-quality materials. Carefully inspect the rotor’s surface for any visible cracks.
Warping, often caused by excessive heat buildup from hard braking, is another concern. If the rotor feels uneven or if you notice visible warping, it’s a clear indication that the rotors need to be replaced.
Step 3: Look for Rust or Corrosion
Rust or corrosion on the rotors is a common issue, especially in areas with wet or humid climates. If the rotors are rusty but the corrosion is only on the surface, you may be able to clean it off.
However, if the corrosion is deep or extensive, it could affect the rotor’s performance and may require replacement. Make sure to inspect the rotor’s edges and braking surface for any signs of rust.
Step 4: Measure Rotor Thickness
The thickness of the rotors is a critical factor in maintaining effective braking power. Most rotors come with a minimum thickness specification, which is marked on the rotor itself. Use a micrometer or a specialized rotor thickness gauge to measure the thickness of your rotors.
If they are below the minimum thickness recommended by the manufacturer, it’s time to replace them. Thin rotors are more likely to warp or crack under stress, which can compromise braking performance.
Step 5: Check for Vibration or Pulsation
One way to test the condition of the rotors is by driving the car and applying the brakes. If you feel any vibrations or pulsations in the brake pedal or steering wheel, it could indicate that the rotors are warped or uneven.
This can occur when the rotors become too thin or unevenly worn. If you notice this issue, it’s essential to have the rotors inspected and resurfaced or replaced by a professional mechanic.
Step 6: Listen for Unusual Noises
While inspecting the rotors, listen for any unusual sounds while braking. A high-pitched squeal or grinding noise can be an indication that the rotors have worn unevenly, or that the brake pads are making contact with damaged areas of the rotor.
This can lead to further rotor damage if not addressed. Any grinding noise suggests that the rotors may be severely worn and will likely need to be replaced.
Step 7: Check Rotor Surface for Smoothness
Run your fingers over the rotor’s surface to check for smoothness. The rotor should feel smooth and even to the touch. If the rotor feels rough, bumpy, or grooved, it indicates that the surface has been damaged by worn brake pads or foreign debris.
A rough rotor surface can cause poor brake performance and might even damage the new brake pads if not addressed. In these cases, the rotors should be resurfaced or replaced.
3. Inspect Brake Fluid
Brake fluid is essential for transferring pressure from the brake pedal to the brake components, allowing the system to function. Open the hood and locate the brake fluid reservoir to check its fluid level.
The reservoir is typically labeled, and you should ensure that the fluid is within the “min” and “max” levels. If the fluid is low, top it off with the recommended brake fluid for your vehicle.
Additionally, brake fluid should be clear or slightly yellow. If the fluid appears dark or contaminated, it may need to be flushed and replaced.
4. Check for Leaks
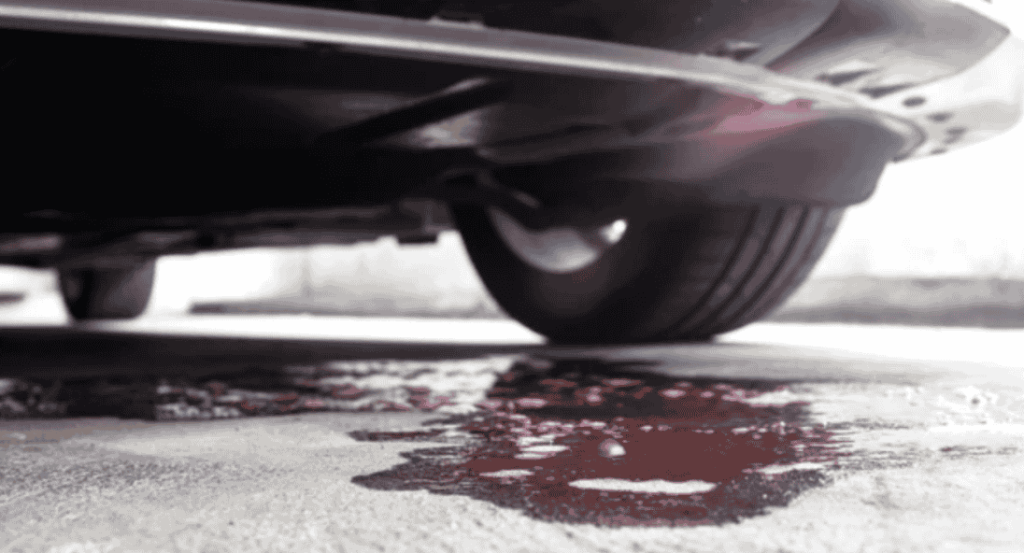
Brake fluid leaks can significantly impact the braking system’s performance. Check the brake lines and hoses under the vehicle for any signs of fluid leakage.
Look for damp spots, puddles, or stains under the wheels or along the brake lines. Leaks can occur at connection points or along the hoses, and even small leaks can lead to a loss of braking efficiency.
If you notice any leaks, it’s crucial to have the brake system repaired immediately to ensure your brakes function properly.
5. Test the Brake Pedal
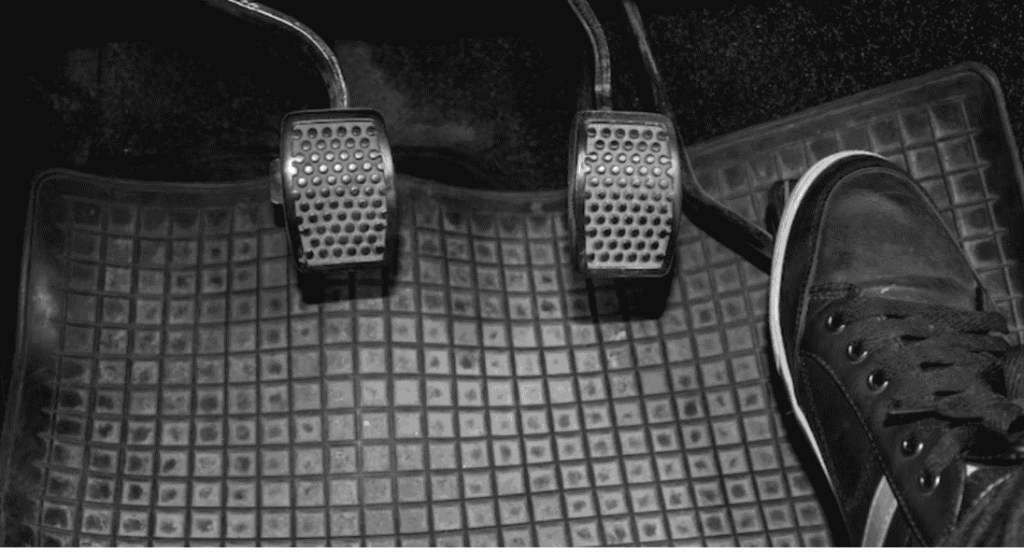
The feel of your brake pedal can provide important clues about the condition of your brake system. Press the brake pedal and note its response.
If the pedal feels soft, spongy, or goes too far down with little resistance, it could indicate air in the brake lines, low brake fluid, or a problem with the master cylinder.
If the pedal feels hard or unresponsive, this could indicate a malfunction in the braking system that needs to be addressed.
6. Listen for Unusual Noises
Aside from squealing or grinding sounds from the brake pads, pay attention to any other unusual noises when braking.
Hissing sounds or air noise could indicate a problem with the brake booster or a leak in the vacuum system.
Any odd noises while braking should be taken seriously and addressed by a professional mechanic.
7. Check Brake Lines and Hoses
Brake lines and hoses are responsible for transporting brake fluid to the brakes. Over time, these components can become brittle, cracked, or worn out, leading to fluid leaks or loss of pressure.
Inspect the brake lines and hoses for signs of wear, abrasions, or corrosion. If you find any damaged parts, they should be replaced immediately to prevent brake failure.
8. Inspect Brake Calipers
Brake calipers play a critical role in pressing the brake pads against the rotors. Check for any visible damage, leaks, or signs of corrosion around the brake calipers.
If a caliper is sticking or failing to apply pressure evenly, it can cause uneven braking and reduce stopping power. A mechanic will need to inspect the calipers more thoroughly to determine if they need to be repaired or replaced.
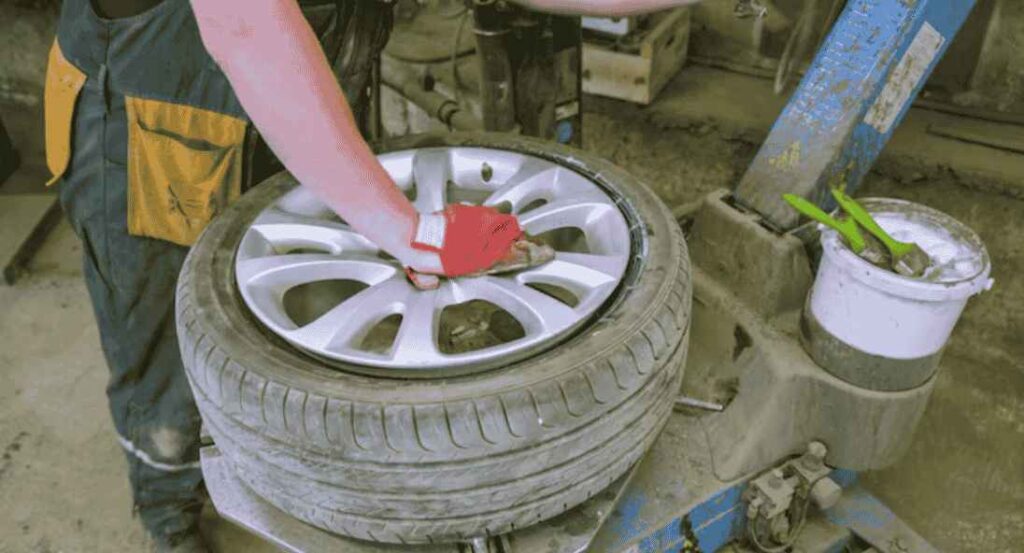
9. Check for Tire Wear
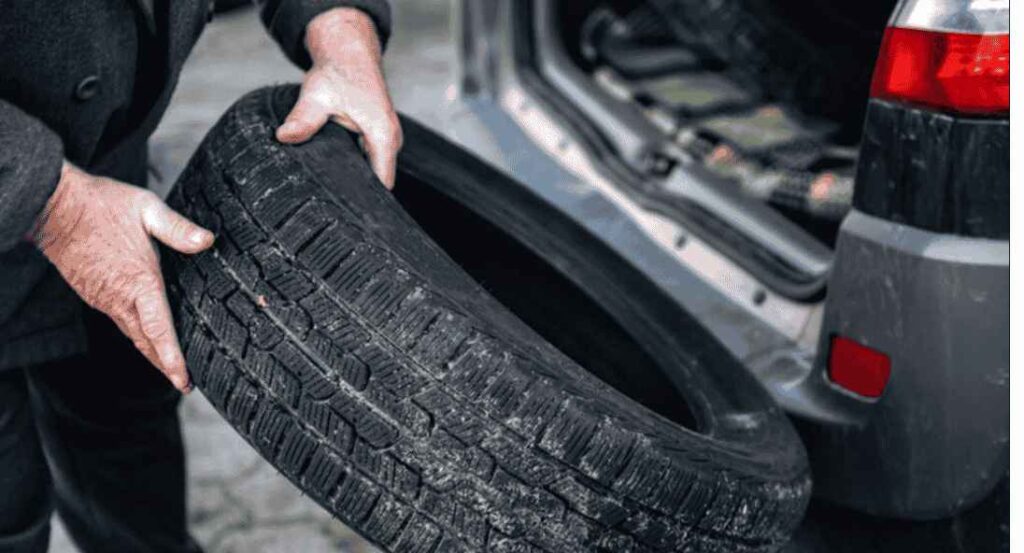
While inspecting the brake system itself is essential, it’s also important to check the tires for any signs of uneven wear.
Uneven tire wear can indicate that your brakes are not functioning evenly, leading to reduced braking performance.
If the tires are worn unevenly, the brake system may need further inspection to ensure all components are working together properly.
10. Look for Brake Fluid Contamination
Brake fluid can become contaminated over time, especially if moisture or air enters the system. Contaminated fluid can affect braking efficiency and cause parts to wear prematurely.
If you notice the brake fluid is discolored or has an oily appearance, it may be time for a brake fluid flush to keep the system in top shape.
11. Evaluate Overall Brake Performance
Lastly, pay attention to the overall performance of your brakes while driving. Do your brakes feel responsive, or do you notice a delayed response?
If the vehicle pulls to one side when braking or feels sluggish, it’s an indication that the braking system may need attention. Any changes in braking performance should be addressed promptly by a mechanic.
What Should We Do After Inspecting Brakes?
After inspecting your vehicle’s brakes, take immediate action if you notice any issues. If the brake pads are worn down below ¼ inch or if you hear unusual noises, replace the pads promptly.
If the brake fluid is low or contaminated, it must be topped off or replaced. Contaminated or low brake fluid can lead to reduced braking performance and should be addressed immediately.
Regular brake inspections are essential for vehicle safety. If you’re unsure where to go, many service providers offer free brake inspections to ensure your brakes are in optimal condition.
Who Does Free Brake Inspections?
Many auto repair shops and service centers offer free brake inspections as part of their customer service. These inspections typically include a quick check of the brake pads, rotors, and fluid levels to ensure everything is in good condition.
Some major automotive chains, such as Midas, Pep Boys, and Firestone, provide free brake inspections as a way to attract customers. These inspections are often no-obligation, meaning you are not required to commit to repairs if issues are found.
Additionally, local dealerships and independent mechanics might also offer free brake checks, especially during seasonal promotions or vehicle maintenance packages. It’s always a good idea to call ahead or check their website for details on what’s included in the free inspection.
Frequently Asked Questions
How Often Should You Get the Braking System Inspected?
It’s recommended to get your braking system inspected at least once a year or every 12,000 miles. However, if you notice any signs of braking issues, such as unusual noises or reduced braking performance, you should have your brakes checked sooner.
How to Inspect Brake Pads Without Removing the Wheel?
You can inspect brake pads without removing the wheel by looking through the gaps between the wheel spokes. Use a flashlight to check the thickness of the brake pads; if the pads are thinner than ¼ inch, it’s time for a replacement. Some vehicles may have a visible wear indicator slot that shows the condition of the pads.
How Long Does a Brake Inspection Take?
A brake inspection typically takes between 30 minutes to an hour, depending on the complexity of the check and whether the mechanic needs to remove the wheels. Most standard inspections focus on evaluating the brake pads, rotors, and fluid.
How Much Does It Cost for a Brake Inspection?
The cost of a brake inspection can vary depending on the service provider. Many auto shops offer free brake inspections, but if there is a fee, it usually ranges between $20 to $50. Always ask about the cost upfront before scheduling an appointment.


